
DIY | How to Build Own Backyard Chicken Coop: Complete Step-by-Step Guide

Are you tired of the same old grocery store eggs and longing for that farm-fresh taste? Well, look no further, because you're about to embark on an exciting journey towards poultry paradise! In this comprehensive guide, we'll walk you through the ins and outs of building your very own chicken coop in your house backyard. Get ready to say goodbye to store-bought eggs and hello to your clucking companions in your backyard haven.
Why build a chicken coop, you ask? Well, for starters, it's a fun DIY project that can save you money and provide you with a source of fresh, organic eggs. Plus, there's something truly satisfying about knowing exactly where your food comes from. So, let's roll up our sleeves and get started on your backyard chicken adventure!

Step 1: Plan Your Coop

1.1 Determining Your Flock Size
Before you dive into the project, it's essential to assess how many chickens you plan to house. The coop's size and design should be tailored to accommodate your intended flock. Here's what you need to consider:
Space Requirements: Chickens need room to move around comfortably. Allocate a minimum of two to three square feet per chicken inside the coop and at least ten square feet per chicken in the outdoor run.
Local Regulations: Check with your local authorities to ensure compliance with zoning laws that may restrict the number of chickens you can keep.
Allow for Expansion: Chickens are social animals, and you might want to increase your flock in the future. Plan for future growth by designing a coop that can easily accommodate additional chickens.
1.2 Selecting the Ideal Coop Location
Choosing the right location for your chicken coop is paramount to ensure the health and well-being of your feathered friends. Consider the following factors:
Sun and Shade: Strike a balance between sunlight and shade. Too much sun can lead to overheating, while excessive shade may cause dampness inside the coop.
Proximity to Your Home: Opt for a location that minimizes the distance you need to cover to feed and care for your chickens, making daily chores more convenient.
Predator Protection: Position your coop in a way that allows you to secure it against potential threats like raccoons, foxes, and hawks. Safety is a top priority.
Section 2: Coop Design and Materials

2.1 Choosing the Perfect Coop Design
Selecting the right coop design is a crucial step in your project. Consider the following factors:
Design Options: Explore various coop designs such as A-frame, gable, or hoop house. Your choice should align with your available space, personal style, and skill level.
Ventilation: Ensure that your chosen design includes adequate ventilation to maintain fresh air circulation within the coop.
Accessibility: Plan for easy access to the coop for egg collection, cleaning, and general maintenance.
2.2 Compiling Your Materials List
Once you've settled on a design, it's time to gather the necessary materials. Here's a comprehensive list to get you started:
Lumber: Required for framing, walls, and nesting boxes.
Hardware: Nails, screws, and hinges for assembly.
Wire Mesh: Essential for protecting your chickens from potential predators.
Roofing Materials: Choose from options like shingles or corrugated metal to keep your coop waterproof.
Insulation: Maintain a comfortable environment for your chickens during the colder months.
Nesting Boxes: Create a cozy space for your hens to lay their eggs.
Perches: Provide roosting spaces for your chickens.
Paint or Sealant: Protect your coop from the elements and extend its lifespan.
Section 3: Constructing the Coop

3.1 Building the Coop Frame
The foundation of your coop is the frame, and precision is key. Follow these steps:
Accurate Measurements: Ensure precise measurements to guarantee that all components fit together seamlessly.
Wall Assembly: Secure the walls to the frame meticulously to ensure stability.
Sturdy Base: Elevate your coop slightly to prevent water from seeping in, protecting both the structure and your chickens.
Square Check: Verify that your coop is square, preventing leaning or instability issues down the line.
3.2 Adding the Roof
A solid roof is vital to keep your coop dry. Follow these steps for a reliable roof:
Roofing Material Installation: Whether you choose shingles or corrugated metal, make certain it is waterproof and well-secured.
Strong Fastening: Do not compromise on securing the roofing material, as it needs to withstand wind and rain.
3.3 Crafting Nesting Boxes and Roosting Perches
Your chickens need comfortable spaces to lay their eggs and rest. Here's how to provide for them:
Nesting Boxes: Design and build nesting boxes to accommodate your hens, typically at a ratio of one box for every three to four hens.
Roosting Perches: Install sturdy perches where your chickens can roost comfortably, keeping them off the ground.
Section 4: Ensuring Coop Safety and Comfort

4.1 Effective Ventilation
Proper airflow is essential for your chickens' health, and it maintains a healthier coop environment. Consider these factors:
Ventilation Openings: Install vents near the top of your coop to facilitate the escape of warm, moist air.
Draft-Free Design: Position vents to avoid drafts, which can be detrimental to chickens during cold weather.
4.2 Insulation and Heating
While chickens can endure cold temperatures, providing insulation is crucial during harsh winter months:
Insulation of Walls and Roof: Use materials such as fiberglass insulation to keep the coop cozy.
Heating Sources: Consider adding a safe heat source, such as a radiant heater, during extreme cold snaps.
4.3 Predator Defense
Protecting your chickens from potential threats is a priority. Implement the following measures:
Secure Windows and Doors: Utilize robust locks to safeguard your coop from nocturnal predators.
Buried Wire Mesh: Dig a trench and bury wire mesh around the coop to prevent burrowing predators from gaining access.
Section 5: Coop Aesthetics and Finishing Touches
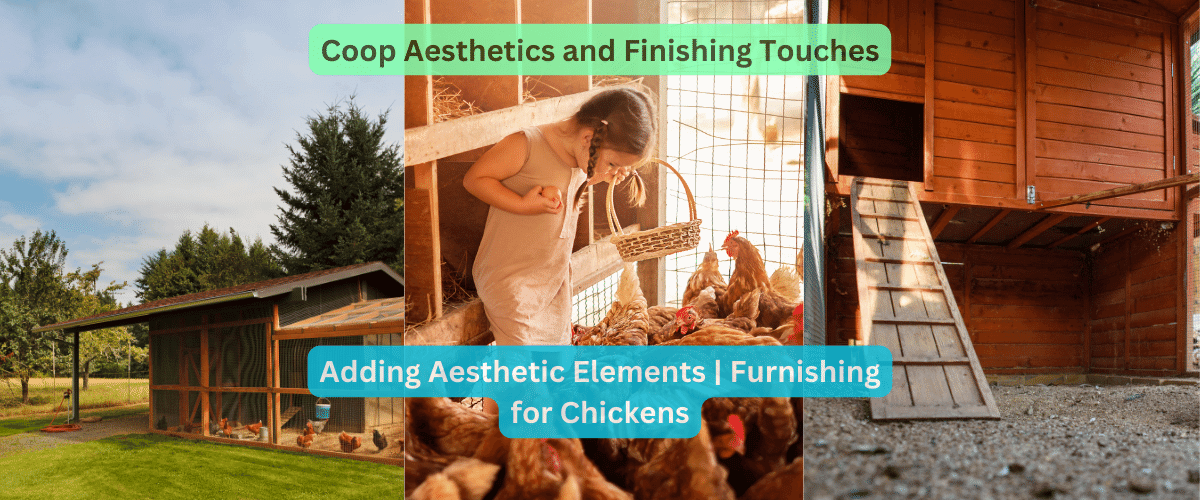
5.1 Adding Aesthetic Elements
Now that your coop is functional, consider adding some personal touches:
Paint or Stain: Enhance your coop's visual appeal and protect the wood with a fresh coat of paint or stain that matches your style.
Landscaping: Plant chicken-friendly vegetation around the coop to create a more natural and appealing environment.
Personalization: Reflect your affection for your feathered companions by decorating with artwork or signs.
5.2 Furnishing for Chickens
Make your coop more inviting and entertaining for your chickens:
Dust Baths: Create a designated area filled with sand and dirt for your chickens to take their dust baths.
Toys and Perches: Keep your chickens entertained with swings, hanging treats, and perches.
Step 6: Set Up the Chicken Run

Chickens need outdoor space to stretch their wings. A chicken run is an enclosed area where they can safely roam. Here's how to set it up:
Enclose It: Use more wire mesh to create the chicken run walls and roof. This will protect your hens from aerial predators.
Access: Ensure there's a door for you to enter the run and collect eggs without disturbing the hens.
Provide Shade: Add some shade, like a tarp or small roof, to protect your chickens from the sun.
Add Dust Baths: Chickens love to take dust baths to keep themselves clean. Create a small area in the run filled with dry soil or sand.
Furnish It: Place some outdoor perches and maybe a swing for your chickens to enjoy.
Step 7: Choose Your Chickens

The time has come to select your feathery friends! Here's a quick rundown on what to consider:
Breed: Choose a breed that suits your climate, temperament, and egg production preferences. Some popular choices include Rhode Island Reds, Leghorns, and Plymouth Rocks.
Chick or Adult: You can start with chicks or go for adult chickens. Chicks require more care initially, while adults are more self-sufficient.
Number: Calculate the space available in your coop and run. Remember, more space means happier chickens!
Local Laws: Check if there are restrictions on the types and numbers of chickens you can have in your area.
Step 8: Chicken Care 101

Your chickens are settled in, and it's time to take good care of them. Here's what you need to know:
Feed: Provide a balanced diet with chicken feed, supplemented with kitchen scraps, greens, and the occasional treat.
Water: Fresh, clean water is a must. Check it daily.
Health Checks: Keep an eye on your chickens. If one looks sick, quarantine it immediately and consult a vet.
Egg Collection: Collect eggs daily to keep them clean and fresh.
Coop Cleaning: Regularly clean the coop to prevent odors and disease.
Socialize: Spend time with your chickens. They're friendly creatures!
FAQs
Q1: Can I build a chicken coop in a small backyard?
A1: Absolutely! You can build a small coop suitable for 2-4 chickens in even the tiniest backyards. Just make sure to follow local regulations and choose the right chicken breed.
Q2: How much does it cost to build a chicken coop?
A2: The cost can vary widely based on your design and materials. A basic coop might cost you around $200 to $500, but more elaborate structures can go up to $1,000 or more.
Q3: How long does it take to build a chicken coop?
A3: It depends on your skills and the complexity of the coop. A simple coop can be completed in a weekend, while a more intricate design might take a few weeks.
Q4: Do I need a rooster for hens to lay eggs?
A4: No, hens can lay eggs without a rooster. A rooster is only needed if you want fertilized eggs to hatch into baby chicks.
Q5: How many eggs can I expect from my chickens?
A5: On average, a healthy hen lays about 200-300 eggs per year. The specific number may vary by breed and individual.
Conclusion
Congratulations! You've successfully built your very own chicken coop in your house backyard. Now, as you sit on your porch, sipping on a cup of coffee, you can watch your feathered friends roam happily in the chicken run. You'll enjoy the freshest eggs and the satisfaction of knowing that you've created a safe and comfortable home for your hens.
Remember, your chicken coop is a living, breathing project. Be ready to make adjustments as you gain experience and your flock grows. The bond between you and your chickens will only grow stronger as you care for them day in and day out.
So, if you're ready to embrace the wonderful world of backyard chickens and enjoy the delicious, nutritious rewards they bring, you've taken the first big step by building your own chicken coop. Now, go ahead and proudly declare, "I've mastered the art of Building your own Chicken Coop in House Backyard: A Step-by-Step Guide!" Your backyard will never be the same!
NEWSLETTER
Subscribe to get new release resources right away
CATEGORIES


ABOUT US
Are you interested in connecting with a like-minded community of homesteaders and sharing knowledge and resources? Homesteading offers a vibrant and supportive community of people who are passionate about self-sufficient living.
Quick Links
Latest Posts
10 Essential Homesteading Skills Every Beginner Should Learn
on May 14, 2024
A Beginner's Guide to Vegetable DIY Raised Garden Beds.
on July 14, 2024
DIY | How to Build Own Backyard Chicken Coop: Complete Step-by-Step Guide
on July 16 2024
Created with © Survival Insights